 |
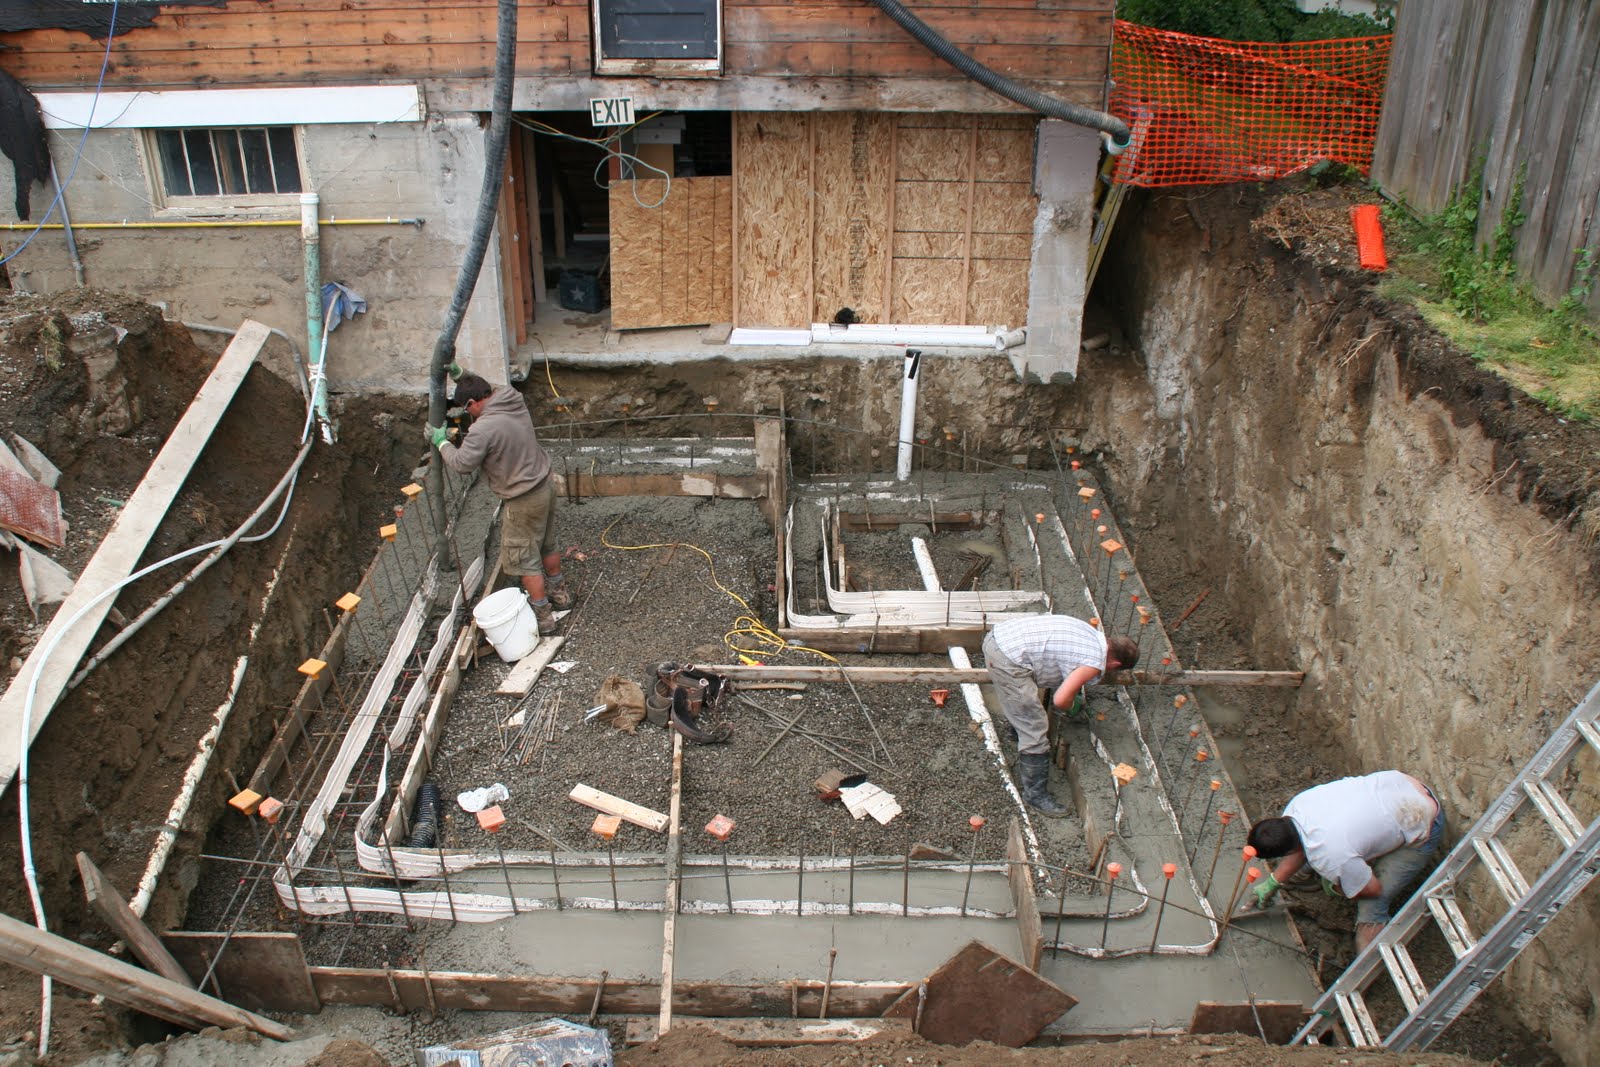
| Steve Gregory and crew setting the forms and rebar for the addition footing |
 |
| Footing forms are nearly complete. The square in the upper left corner of the excavation is the footing for the elevator shaft. The white ribbon that looks like flat fire hose is "water stop." It is half embedded in the footing and half embedded in the slab and walls to come, serving as a solid barrier against ground water seepage. The orange caps on the vertical rebar are to prevent impaling you if you fall. The fact that some rebar lack orange caps means that if you fall, you need to choose the place wisely. |
 |
| The forms, rebar, and water stop are in, and we're ready for the concrete pour. |
 |
| The pour was at 4 p.m. on Wednesday. Early on Wednesday morning it was raining hard. Dylan, our site manager, improvised a drain to collect rain from the roof gutters. He also hooked up a pump to pump accumulating water out of the excavation. |
 |
| Meanwhile, in the basement, while installing rebar for a retaining wall that will be attached to an existing retaining wall, we discovered that some of the cells of the concrete blocks of the existing wall had not been filled with concrete. One cell revealed that rebar had been used, but not embedded in concrete--an illustration of the surprises that appear often when remodeling an old house. |
 |
| The pumper truck has arrived. We have Zoe for the afternoon while Susan and Maya are at Irish dancing. Zoe loved the big truck. |
 |
| The pump equipment is amazing. This rig lifts up over fences, piles of lumber, and any other obstacles and delivers the concrete sixty feet away without spilling a drop. |
 |
| The cement truck arrives. On this day we poured six yards of concrete. We also believe that we set a neighborhood record for simultaneous parking of large vehicles. Shown in the photo are Steve Gregory's trailor and one-ton pick-up, the concrete pump truck, and the concrete delivery truck. Not shown in the photo, but parked in back of the pump truck, is the excavator. |
 |
| Sandy and Zoe watched the concrete pour from the window of Sandy's old office. |
 |
| This photo shows Steve Gregory and his crew beginning the pour down in the excavation. The man standing on the right is the pump truck operator. He wears a heavy vest, attached to which is a console and joy stick that controls the location of the long arm of the pump truck, as well as the flow of concrete through the arm and nozzle. It's all done by wireless remote control. |
 |
| Steve Gregory, center, is manning the hose while his crew get ready to finish the poured concrete. |
 |
| The pour went counter clockwise. In this photo we are about half way done. |
 |
| More of the pour |
 |
| The cement truck driver and pump truck operator chat, and Steve pours a final small mound of concrete to be used as needed. |
 |
| Mike and Zoe have a conversation about the pour. |
 |
| Sandy shows Zoe the pump truck arm beginning to retract. |
 |
| Chris, Susan, and Maya arrived toward the end of the pour. |
 |
| Bellingham is wet pretty much all year round. To protect both our existing basement space and the addition, including the elevator, from seeping water, we are installing an extensive drainage system that includes not only gutters and downspouts for roof water, but also curtain and foundation drains and a sump with a sump pump extending around the back and both sides of the house. All this water is channeled into a pipe that deposits the water directly into the city's storm drain in the street. On Friday the excavator installed the tightline that will carry the rain and ground water from our drainage system to the city's storm drain. |
 |
| This photo shows where the drainage pipe connects into the city storm drain. |
 |
| The excavator, Ron, installing the tightline pipe |
 |
| Tightline in. Ron begins filling the trench. |
 |
| This photo, taken from the rear of the house, shows roughly where the tightline will meet the other parts of the drainage system. |
 |
| Ron tidies up the excavation. |
 |
| Ditto |
 |
| Ditto |
 |
| While Ron worked in front, Steve and his crew began unloading the large panels that will be used as forms for the new basement walls. |
 |
| Steve and his crew begin installing the rebar and forms for the new walls. |
 |
| Ditto |
 |
| Ditto |
 |
| This photo shows to the left of the wood forms the sewer connection that will serve the washer in the new basement. |
 |
| More progress on installing the forms |
 |
| This photo shows how the forms are tied together and the rebar centered. It's an amazing process. |
 |
| These "boxes" will be inserted into the forms at two locations to provide space for the two basement windows. A larger box will be inserted in the form on the east wall to provide space for the exterior door to the elevator. |
 |
| This is how things looked from the rear at the end of week 5. |
 |
| This is how the front looked at the end of week 5. |
No comments:
Post a Comment