 |
| This is the week when the crew begins to install siding! This photo, taken on Monday, shows Dylan, on the right, and Tim, on the left, applying the very first section of siding. The siding material is a cement board called HardiePlank lap siding. Various textures and sizes are available. We chose smooth flat boards with a 4" reveal. So far we are very pleased with the result. |
 |
| While there are cement saws that would work in cutting HardiePlank, such saws make billows of dust. The cleaner and more efficient way of cutting these boards is with the "jaws of life" electric scissors. |
 |
| A close-up of the "jaws of life" scissors. It pays to keep fingers out of the way! |
 |
| Tim and Dylan beginning the second row of siding |
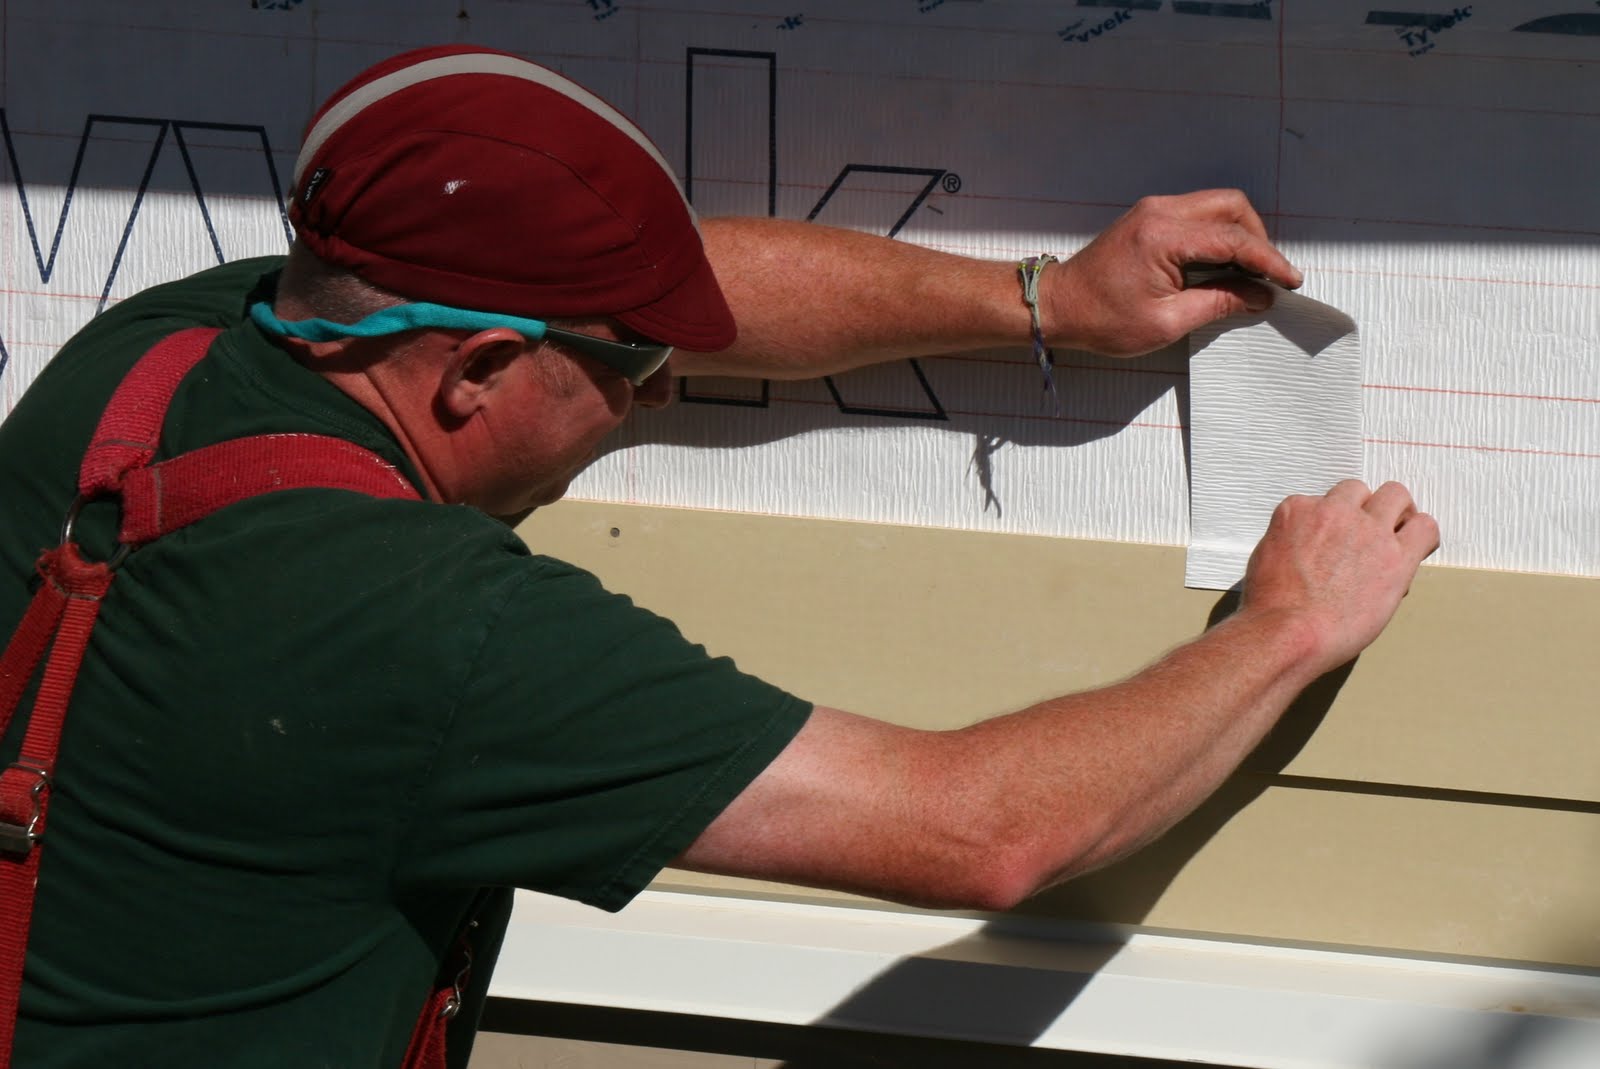 |
| At each seam between lap boards, Dylan applies a strip of Drain Wrap to help steer any intruding water away from the seam. |
 |
| Dylan installing a lap board, the right edge of which is centered on the Drain Wrap strip. |
 |
| Tim and Dylan installing more siding on the west and south faces of the house |
 |
| This photo shows the BP cutting down the large hydrangea at the northwest corner of the house. The BP called this activity "site preparation" in anticipation of the siding and painting work to be done in this area. The BB called this activity "making a mess" for no discernible purpose other than create something to clean up. |
 |
| Dylan and Daniel, with Jake in the background, prepare one of the 5/4x12 bellybands that will wrap around the middle of the house. We learned something new: a 1x12 would be roughly 3/4 of an inch thick; a 5/4x12 means that the board is a full 1" thick. This was our first introduction to 5/4 outside of musical signature. |
 |
| This photo shows the boards used to "fir out" the bellybands. The purpose of firring out the bellybands is to provide a three-dimensional look as the depth of the bellybands compares to the depth of the siding. Kudos to our designer, Luther Allen, for thinking of this. |
 |
| Daniel, left, and Dylan, right, installing the bellyband on the west face of the addition |
 |
| This close-up of Dylan installing the west bellyband shows the mitered corners of the bellyband. The idea of a mitered corner was either Luther's or Dylan's (or perhaps their joint idea). This enhances the three-dimensional look, and we agree that the effect is very pleasing. |
 |
| As you can tell from this photo, the siding goes on fairly quickly, which makes the process doubly exciting. In this photo, Daniel is nearing the top of the lap siding. Another bellyband will go above the windows, and then shingles will be installed above that bellyband. As is also apparent in this photo, a successful carpenter needs to be comfortable when working approximately 25' above ground level. |
 |
| Tim and Daniel preparing to install corner boards above the middle bellyband. |
 |
| One secret to good cornerboards is that they fit very tightly together. We learned that the trick to achieving this result is the liberal use of clamps prior to nailing the board in place. In this photo, Daniel is steadying the right cornerboard while Tim attaches the clamps. |
 |
| Ditto |
 |
| Whle siding was the principal activity this week, a few other things happened, as well. After a long absence, the electrician came for a few hours and began the work of installing the new electrical service. On the inside, the first step was to install a new, larger electrical panel. In this photo, the new panel has been installed with the "home run" wires funneled into the panel but not yet connected. |
 |
| On the outside, Dylan prepared blocks for the meter and mast through which the new electrical service will run. In this photo, the meter box has already been installed. The other blocks that you see running up the side of the house will be where the long 3" mast will be attached. |
 |
| a close-up of the meter box. In the bottom of the photo, the condut and wires on the right provide electrical service to the detached garage. In this photo, the garage conduit and wires have not yet been connected to the main service. |
 |
| The blocks that Dylan installed are not just any old blocks. They have camphered edges (for appearance) and flashing bonnets (to keep the water away from the house. |
 |
| In this photo, Victor, one of the electricians, is measuring the mast. |
 |
| As we have mentioned in prior blogs, construction crews sometimes leave the darnedest things lying around. On Monday, we found this 30 cents lying on the bathroom floor. The coins were still there on Thursday. |
 |
| On Thursday, we also found this dime on the floor outside the bathroom door, dropped presumably by someone anxiously awaiting the opportunity to go inside. Footnote to the wise guys among the viewers of this blog: Our bathroom facilities are NOT coin-operated. |
 |
| On Thursday, we encountered two fairly standard rules in house construction: Rule #1 is that there are surprises. Rule #2 is that, more often than not, there is a good reason for the surprise. In this case, a large truck drove up to the house with 28 bundles of hardwood flooring that the truck driver had brought from a warehouse in Seattle. No one on site knew anything about this delivery. A few phone calls later, it became apparent that the flooring sub-contractor had ordered these bundles delivered to the site now because new hardwood flooring needs to rest on site for a few weeks before installation in order to become accustomed to the climactic conditions at that site. This photo shows 20 of the 28 bundles resting in the living room. |
 |
| This photo, taken from the living room, shows the living room bundles and the remaining eight bundles stacked in the kitchen. In a few weeks, all of these bundles should take on the same level of moisture content as the rest of the site and be ready for installation. |
 |
| This photo, taken from the new laundry room, shows the new water line (small white pipe to the left in this photo) attached to the new frost-free outdoor water spigot. |
 |
| In this photo, the frost-free water spigot is just to the right of center. This is an exciting addition for us. The existing spigots in the house were not frost-free, so every winter one chore was to cover the front and rear spigots with styrofoam covers to keep the pipes from freezing. The frost free spigots require no covering in the winter. To the left of center in this photo you can see one of the new basement windows that was installed this week. |
 |
| Another of the newly-installed basement windows is shown in the center of this photo. |
 |
| Here's how the rear of our house looked at the end of Thursday. At 7 a.m. Friday, we flew from Bellingham to California to attend a law school luncheon honoring one of the BP's classmates and a dear friend of both the BP and the BB since law school days, Sandy Svetcov. We also took the opportunity while in California to meet with the contractor doing remodeling for us in both Davis and Berkeley, to purchase a new wash basin for one of our Berkeley bathrooms, to pick up six light fixtures that we had had rewired at a lamp repair shop in Berkeley, and ship them by UPS to Bellingham for installation in our remodeled house there, to drive to Davis to inspect the current status of work at the condo, and to meet with the Delancy St. movers, who will be moving us from Berkeley to Davis next month. Sleep was not on the agenda. |
Siding work is really a very intricate and meticulous job! But they all look so committed! :) Your siding material is the type that has the masonry and wood fiber composite, right? Great choice! It’s practically maintenance-free – no rot, warp, shrink or insects. I can just imagine the convenience, plus the fact that it has a life-long guarantee. ;) -->Ashlee
ReplyDelete